Showing posts with label Handmade Santa Claus. Show all posts

Thursday, October 15, 2015

How to Turn a Hobby Lobby Plush Bear into a Stylized Antique Steiff Bear

Last year I wrote a blog about creating your own A Simple Way to Make Your Own Heirloom Santa and other posts on how to add goodies to your Santa Claus figures to make them your own Heirloom Santa. 

I'm on the hunt year round for little toys, wreaths, trees, and ornaments that will add to my Santa's stash and I try to find ways to make them more personalized as in the case of this Hobby Lobby craft bear.
He's only about 4' tall and originally cost $3.97. 

I actually picked him up for 55 cents at my favorite place Rolling Hills Ministries.
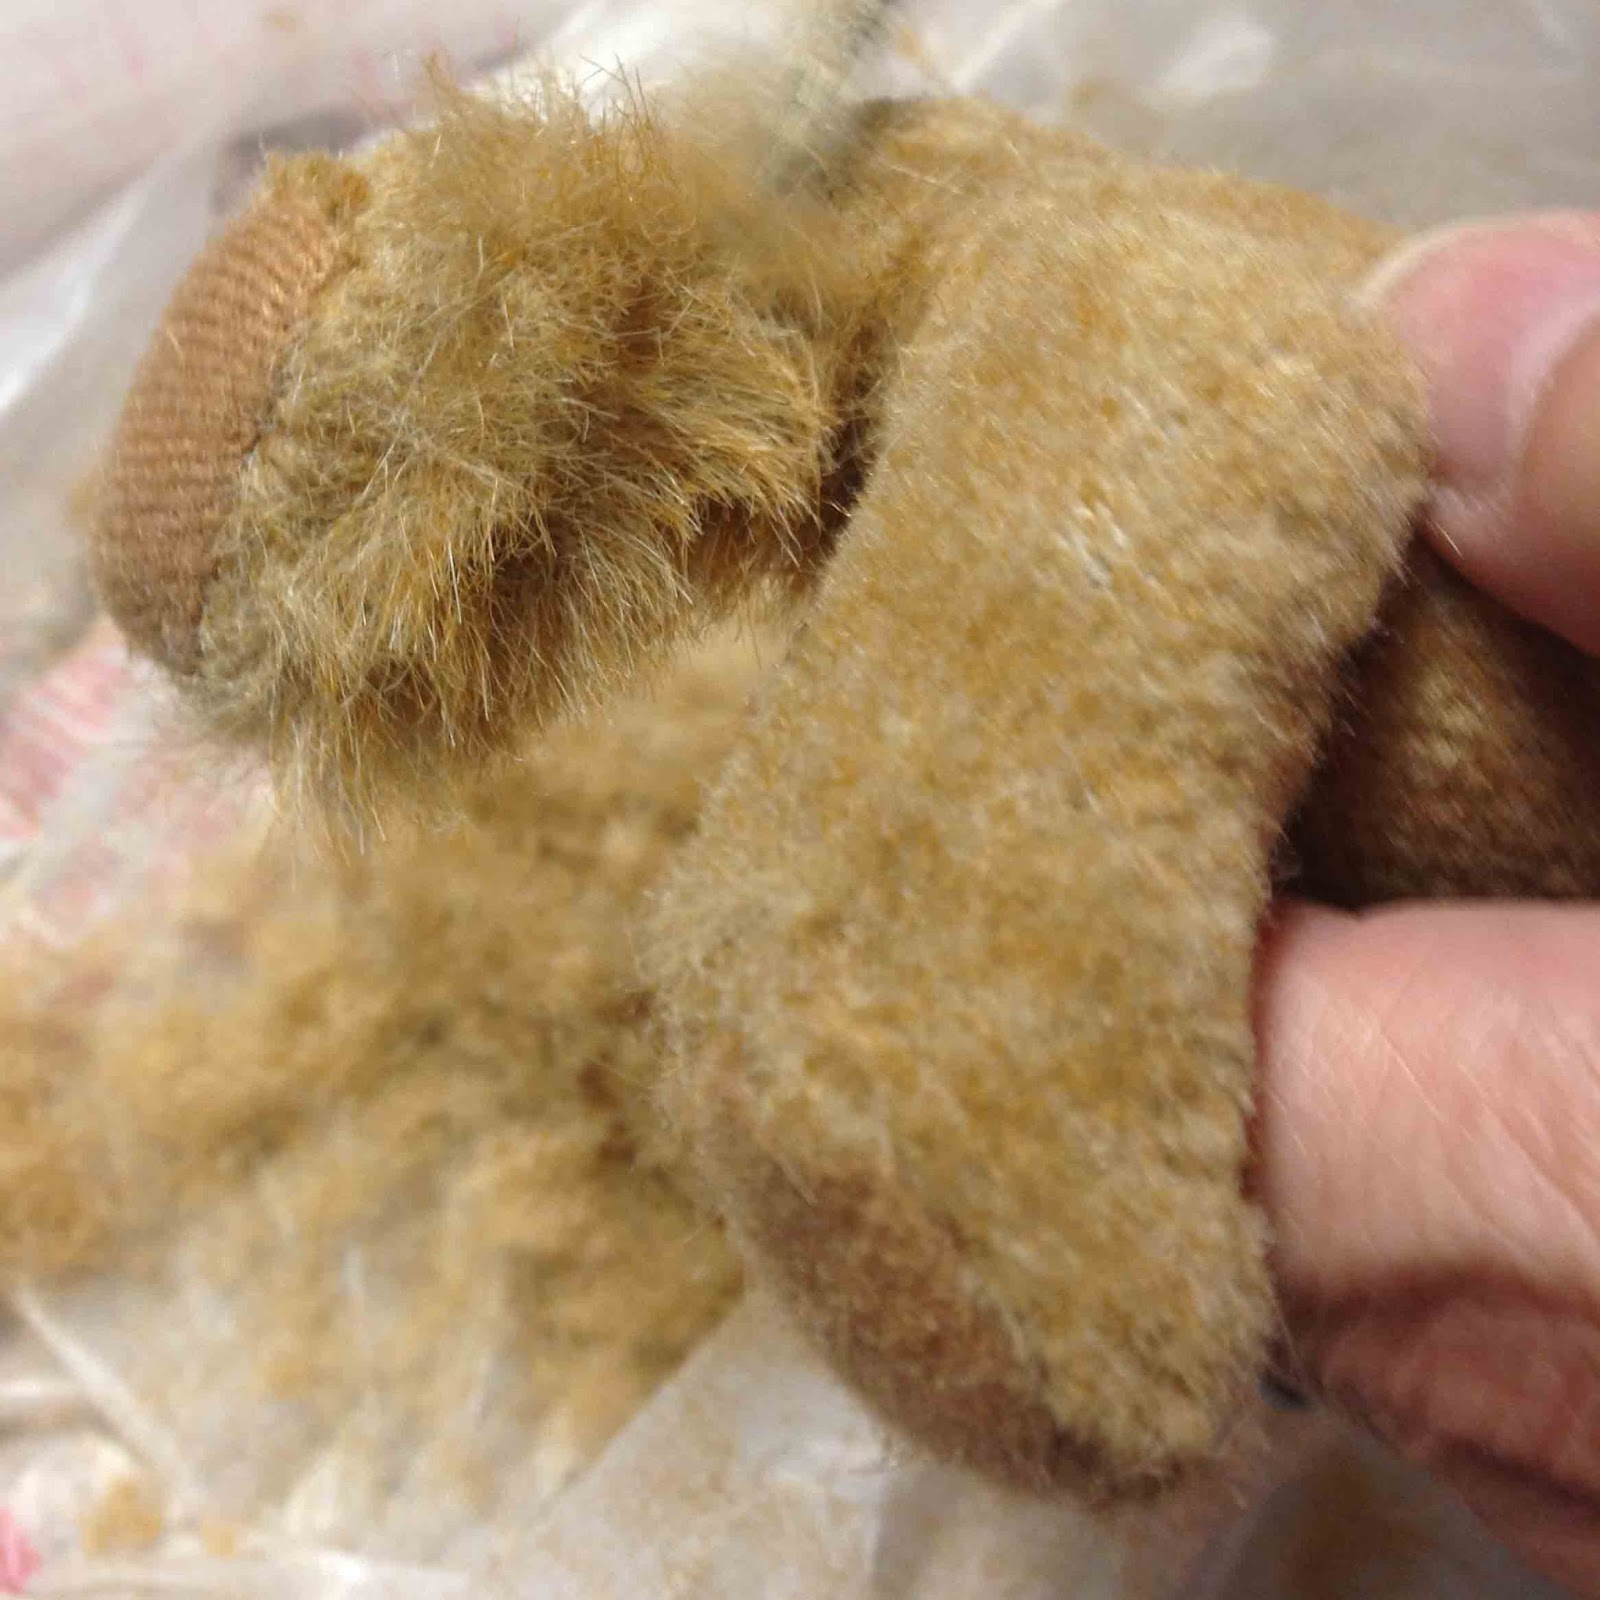
He's quite a fuzzy mess with no details. He looks more like a baby wookie than bear!
So...I took a pair of scissors and gave him a little trim.

And this is how to make a craft store bear look like a well loved antique Steiff bear.

Or close enough...

I use hair cutting scissors (shears) that I picked up at Walmart. 

This isn't the first time I've trimmed down a teddy. If fact, I usually trim them around the eys and the top of the nose to make their eyes more visible and give him some personality.


The bear isn't changing color, that was the lighting in my kitchen.

But you can see the vintage, well-loved, personality coming out.
I accidentally pulled off one of the arms...but it popped back into place. It would have been much easier to trim if ALL the appendages had come off that easily, but they didn't and I did not want to risk breaking on of them.


I just want to make a note here that I snipped the fur over a plastic bag so the mess would not be as...well...messy!

Several snips later, I was done (this one took me about 30 minutes)...
I tied on a bow and added him to one of my own Heirloom Santas!
This is a 15" tall Santa I found on eBay. He is handcrafted with a sculpted face, rabbit fur trim, and a mohair beard attached in strands. He came with nothing so I am enjoying this opportunity to start fresh and I think my trimmed down teddy is just the place to start.
I also added a special pewter millennium ornament that is too heavy for my other Santas to hold. 

This guy was constructed on some seriously strong wire so his arm is sturdy enough to hold the ornament. He is sitting on an antique tapestry doily layered over a vintage linen Battenburg doily that I picked up at an estate sale.

I also have a small silver pocket watch I want to add to him. He's the only Santa that already has silver accents. Most of my other Santas have gold.
Anyway...
Just some fun ideas to make your favorite Santa Claus figures even more special.

Sunday, October 12, 2014

31 DAYS of SANTA CLAUS Day 12 How to make Santa Claus Collectibles for Fun and Profit

When my parents tore down the livestock barn at our home in Choudrant, LA, I saved some of the pieces of wood. I participated in an Arts and Crafts show at Barksdale AFB (around 1992-1994) and I mass produced these very simple Santas out of 1x2s. I sold them for $3 each or 2/$5 but if you made a $50 purchase, from my booth, you got one for free. They sold like hotcakes! My cost and labor were minimal but the money I made off the the dozen or so I sold more than paid for the table fees.

I still have these two because they were the "prototypes" and I tend to save my first of every Santa I market. I will post more of these later.

I also taught a class with kids where they all got to paint a pair of these. So simple a kid can do it...yet still folk arty enough to add to any collection!
Do you ever wonder what to do with ALL those plastic Easter eggs?

I covered one in a paper mulch product and created this clever little Santa ornament. You can also cover both pieces separately and create a little candy box.

This is also a fun and easy project for a class; however, the drying time makes the project last three days.

First you coat the egg with about a 1/4 inch layer of Celluclay (an instant paper mache' product) and let it dry at least over night in a dry area.

Then add the details and let them dry completely (usually overnight) before painting.

I sprayed the completely dried painted piece with an acrylic sealer, then (once that dried) I antiqued it with an antiquing gel product and finished with another coat of sealer. The possibilities are endless.

My Oyster Shell are simple yet beautiful. I've seen others, but I none that are as appealing as my own.

I know, I am being a bit pretentious.

This particular oyster shell was a double and I have saved it for myself. First you have to seal the oyster shells with a good primer that will stick to glass. I used acrylic paints and (in the past) a high gloss glass-like finish sealer, and metallic gold paint. I used to use a gold leaf paint but the calcium in the oyster shells reacts to the copper in the gold leaf creating a beautiful, but not intentional patina. The copper flakes in the acrylic paint do the same, just not as much.

Now, as my luck would have it, I can no longer find my wonderful glass-like finish and this new version of high gloss glaze yellows. DANG IT!
In this badly out of focus photo are some of my other Santas who hang out in studio. Tucked way in the back is a "nekkid" Santa doll I made about over fifteen years ago from an oddly shaped homemade doll body I found at a garage sale. I'm not quite sure about that square head, but one of these days, when I finally make him some clothes, I hope his hat will will disguise it. The round headed Santa (far left) I painted on a strangely proportioned bottle gourd back in 1992. He is one of my first Santa Claus gourds and the only one of his kind. The moon shaped Santa was painted on a wooden salad bowl, one of many I picked up at garage sales, and I sold them at A&C shows. The Celluclay Santa (center) is built up just like the little ornament, except I used a styrofoam cone instead of a plastic egg. This is another fun class project than can be done at the same time as the ornament. The rustic teal adorned Santa was also made from the barn wood. I sold several of these at the same A&C show as the others.
I will be adding more crafty Santas to my blog...so keep checking back!